Mold on bathroom grout is a persistent issue that affects many households. Because grout is porous and constantly exposed to moisture, it easily absorbs water, soap, oils and organic particles that create an ideal environment for mold growth. Over time mold spreads across grout lines, leaving dark stains, unpleasant odors and potential health concerns. Removing mold effectively requires using the right combination of cleaning products, understanding why mold forms and applying techniques that reach deep into grout pores. This detailed guide provides a complete step by step explanation of how to eliminate mold from bathroom grout, restore its original appearance and prevent mold from returning.
How mold develops on grout surfaces
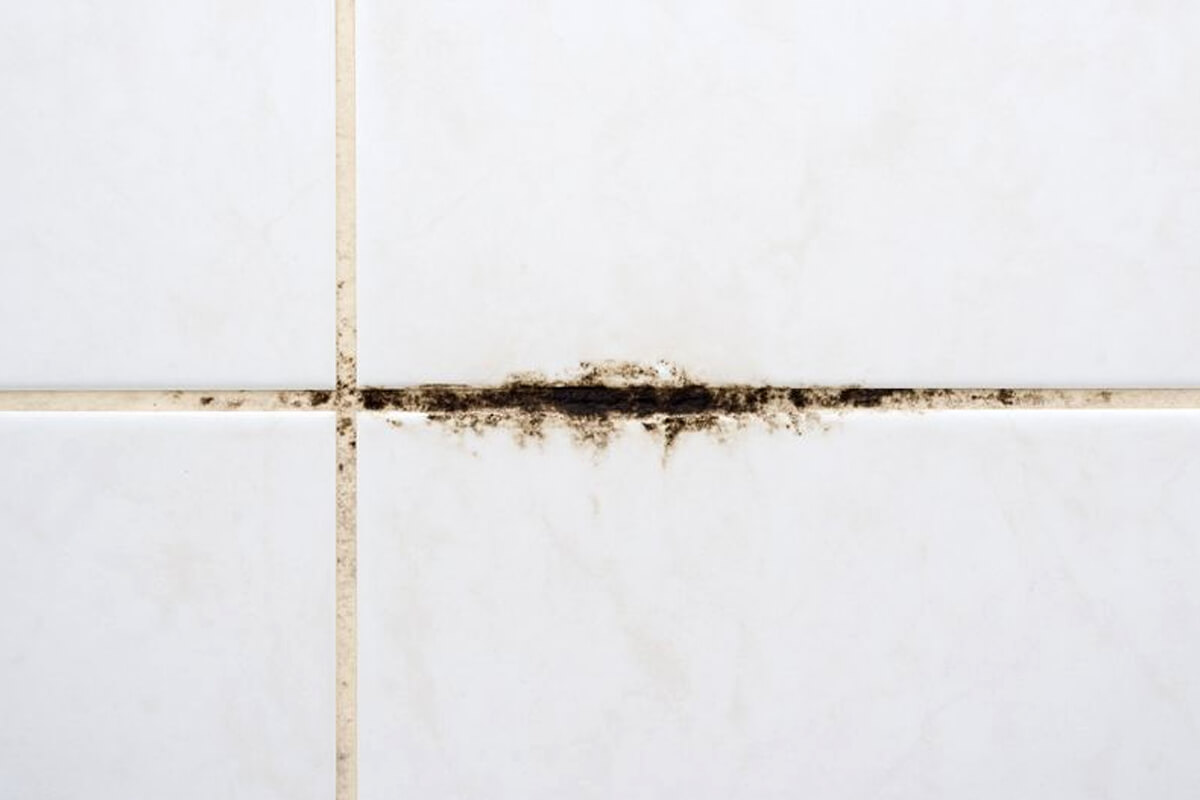
Mold thrives in warm, humid locations, making bathrooms the perfect breeding ground. Every shower releases steam that settles on tile surfaces and penetrates into grout. The grout absorbs moisture and remains damp for long periods, especially in bathrooms with limited airflow. When moisture combines with soap scum and residue, mold spores find the nutrients they need to grow. Once mold attaches to grout, it can spread rapidly and become difficult to remove without a thorough approach.
Different types of mold may appear on grout, but black mold is the most common. While most household mold is not severely dangerous, long term exposure can irritate allergies, damage grout and cause unpleasant odors. Understanding how mold forms helps you break the cycle and maintain mold free grout.
Why bathrooms are so vulnerable to mold growth
Bathrooms naturally retain moisture, and even a few minutes of steam can linger for hours without proper ventilation. Tile and grout in showers absorb this moisture repeatedly, creating a consistent humid environment. Mold spores in the air settle into grout pores and begin multiplying. Because grout is slightly rough and textured, it traps residues that support mold growth.
High humidity from daily showers.
Lack of ventilation that traps steam.
Soap scum buildup that holds moisture.
Porous grout absorbing water quickly.
Warm temperatures favoring mold activity.
Deteriorating grout that absorbs more moisture.
Each of these factors creates the perfect ecosystem for mold to thrive unless cleaning is done routinely and proactively.
Essential tools and products for mold removal
Cleaning mold from grout requires specific tools that scrub effectively without damaging tile surfaces. Some cleaners penetrate deep into grout pores, while others help disinfect and lift mold stains. Choosing the right combination ensures the best results.
Baking soda for gentle abrasion and stain lifting.
White vinegar for killing mold on the surface.
Hydrogen peroxide for deeper mold removal.
Oxygen bleach for heavy staining.
Commercial mold remover for severe cases.
Spray bottle for applying solutions evenly.
Grout brush or old toothbrush for scrubbing.
Microfiber cloths for wiping and drying.
Protective gloves to avoid skin irritation.
These supplies make it possible to remove both fresh and deeply embedded mold while preserving tile condition.
Using baking soda and vinegar to clean mold
Baking soda and vinegar are popular natural cleaning solutions that help lift mold from grout without harsh chemicals. Baking soda gently scrubs away mold buildup while vinegar dissolves and disinfects the area. This method is ideal for light and moderate mold growth.
How to prepare the baking soda paste
Combine baking soda with enough water to form a thick paste.
Apply the paste directly along moldy grout lines.
Allow the paste to sit for 10 to 20 minutes.
The paste begins loosening mold deposits and prepares the grout for deeper cleaning when vinegar is added.
Enhancing the reaction with vinegar
Fill a spray bottle with white vinegar.
Spray vinegar generously over the baking soda paste.
The fizzing chemical reaction helps lift mold from grout pores.
Scrub the grout lines with a brush after the fizzing slows down.
This combination cleans effectively, brightens grout color and helps sanitize the surface.
Hydrogen peroxide for deeper mold penetration
Hydrogen peroxide is one of the most effective home remedies for deep mold stains. It reaches inside grout pores, breaks down mold roots and helps eliminate discoloration. Peroxide is especially useful for mold that does not respond well to vinegar or baking soda alone. Avoid using peroxide on colored grout unless tested first to prevent fading.
Steps for cleaning grout with hydrogen peroxide
Apply hydrogen peroxide directly to moldy grout.
Let it sit for 10 to 15 minutes to work into the pores.
Scrub grout lines vigorously with a brush.
Rinse the area thoroughly with warm water.
For stronger cleaning power hydrogen peroxide can be mixed with baking soda to form a paste that removes even deep mold stains.
Using oxygen bleach for severe mold buildup
Oxygen bleach is a non chlorine bleach that is safe for most tile and grout surfaces. It effectively removes heavy mold buildup and deep stains without producing harsh fumes. Oxygen bleach is ideal for extremely dark grout or mold that has spread across large areas of the bathroom.
How to use oxygen bleach correctly
Mix oxygen bleach powder with warm water following the instructions.
Apply the solution to grout lines with a sponge or spray bottle.
Let the solution sit for 15 to 20 minutes.
Scrub the area thoroughly and rinse with clean water afterward.
Oxygen bleach brightens grout, removes deep stains and kills mold spores effectively when used properly.
Commercial mold removers for difficult cases
Commercial mold removers are designed to eliminate mold quickly using strong ingredients that penetrate deep into grout. These cleaners work well for bathrooms with long term mold problems. While they are highly effective, they should be used sparingly to avoid damaging grout over time.
Safe use guidelines for commercial cleaners
Always wear gloves to protect skin.
Apply a small amount of product directly onto moldy grout.
Allow the cleaner to sit as long as recommended.
Scrub and rinse thoroughly to remove residue.
Commercial cleaners are a strong solution but should be used as a last resort or for severe mold buildup.
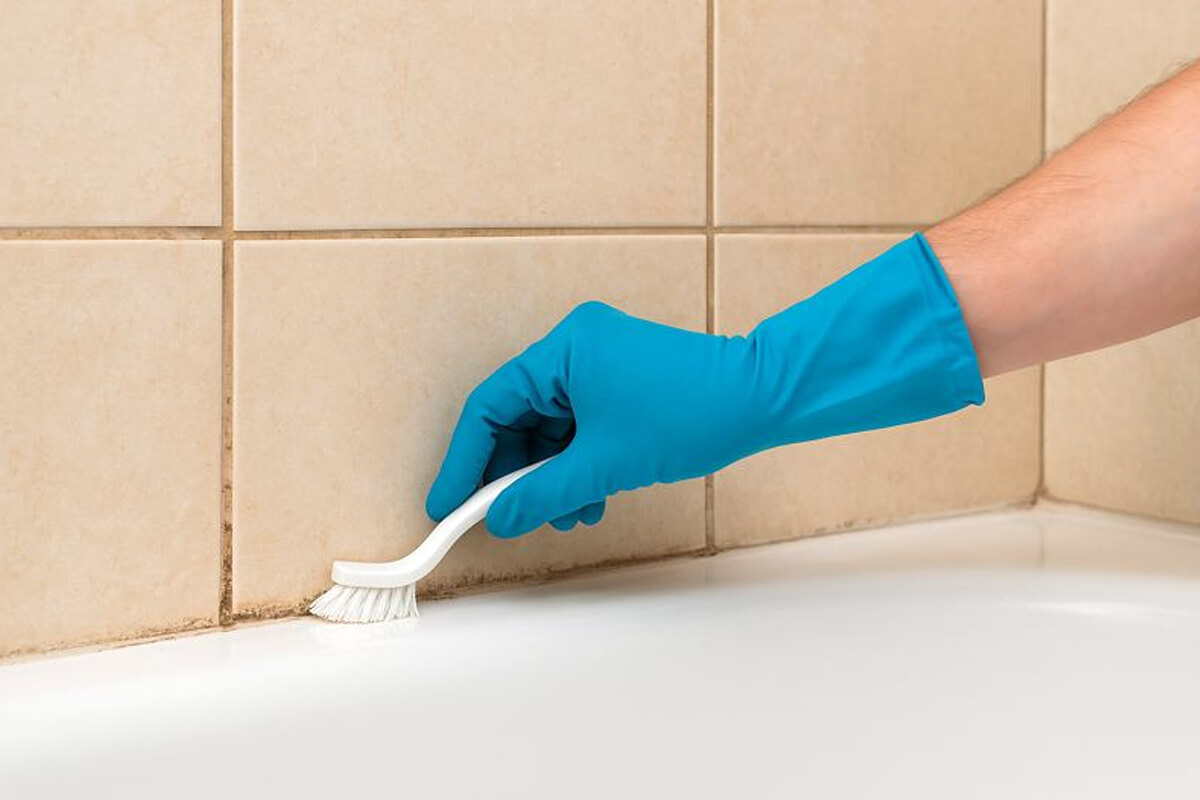
How to clean mold from shower grout effectively
The shower area accumulates mold faster than any other part of the bathroom. Grout in the shower is constantly exposed to water, which means mold spores can develop quickly. Cleaning shower grout requires consistency and stronger mold removal methods.
Steps for shower grout cleaning
Apply baking soda paste to moldy grout lines.
Spray vinegar to activate the cleaning reaction.
Scrub thoroughly with a grout brush once fizzing stops.
Rinse with warm water to remove all residue.
Apply hydrogen peroxide to any remaining dark spots.
Regular maintenance of shower grout prevents severe mold buildup and keeps the area sanitary.
Special considerations for colored grout
Colored grout is more sensitive to strong chemicals, especially peroxide and bleach. To avoid discoloration, start with milder cleaning solutions and test stronger products in a hidden area before applying them widely.
Use mild dish soap and warm water first.
Apply baking soda paste next if needed.
Avoid peroxide or bleach unless tested beforehand.
Colored grout should be sealed regularly to protect its pigment and prevent moisture penetration.
Comparing mold removal methods
The table below summarizes how different mold removal techniques perform depending on grout type and mold severity.
| Method | Best for | Grout type | Effectiveness |
|---|---|---|---|
| Baking soda and vinegar | Light mold | Most grout | High |
| Hydrogen peroxide | Moderate mold | Light grout | Very high |
| Oxygen bleach | Heavy mold buildup | White or neutral grout | Very high |
| Commercial mold remover | Severe mold | Most grout | Very high |
Repairing grout that cannot be cleaned
Sometimes mold penetrates grout so deeply that cleaning alone cannot restore it. When grout begins to crumble, lose color or remain dark after cleaning, it may be necessary to repair or replace it. Regrouting is an effective way to restore the appearance of tile surfaces and eliminate long term mold problems.
Steps for regrouting mold damaged grout
Remove old grout using a grout removal tool.
Clean the empty grout lines thoroughly.
Apply fresh grout evenly into all joints.
Allow grout to dry completely before using the shower.
Seal the new grout to protect it from future mold growth.
Regrouting provides a long lasting solution, especially in bathrooms with chronic mold issues.
Long term strategies for keeping grout mold free
Removing mold is only one part of the solution. To keep grout clean long term you must control moisture levels and maintain proper ventilation. Mold thrives in damp, stagnant areas, so dryness is the key to preventing regrowth.
Effective mold prevention habits
Use an exhaust fan during and after showering.
Open windows to increase airflow when possible.
Wipe grout and tile surfaces regularly.
Seal grout lines every 6 to 12 months.
Repair leaks in plumbing promptly.
Keep bathroom doors open to allow moisture to escape.
These preventive measures greatly reduce mold’s ability to grow and help maintain a clean bathroom environment.
By using the methods outlined in this guide you can remove mold from bathroom grout effectively, improve hygiene and restore grout to its original appearance. Consistent maintenance and proper ventilation ensure mold stays away, keeping your bathroom clean, healthy and visually appealing.